
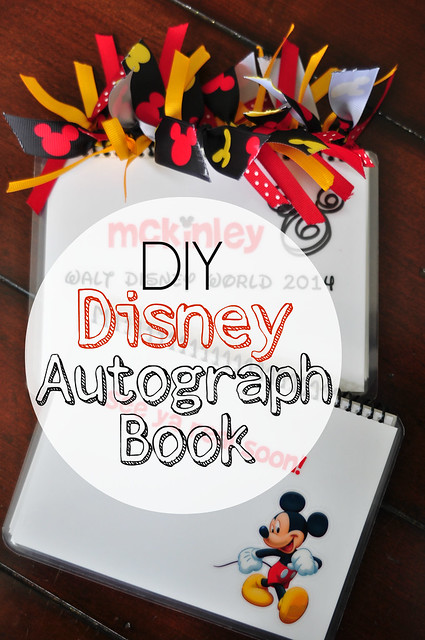
One souvenir that was always a favorite when I was a kid was an autograph book. I can remember getting one each time my mom and I would go to Disney World. Standing in line with my book and pen in hand waiting to meet the characters was THE BEST! {of course, the rides were great, too!} I figured I would pass that tradition along to my kids. But, being the crafty gal that I am, I needed a DIY version of the autograph book. And, it needed to be personalized. Because, well, you know, everything is cuter when it's adorned with your name!
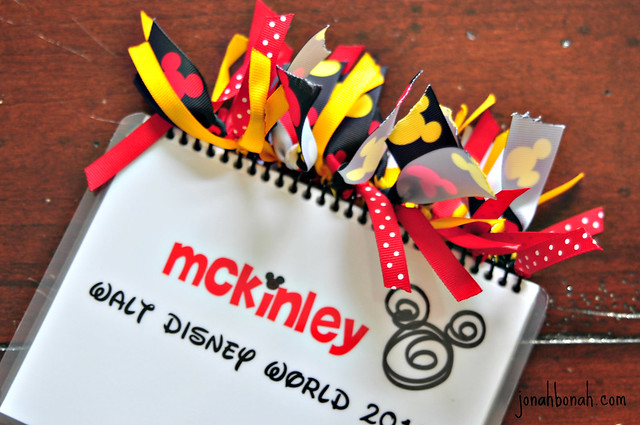
The first page has our family name and the date.
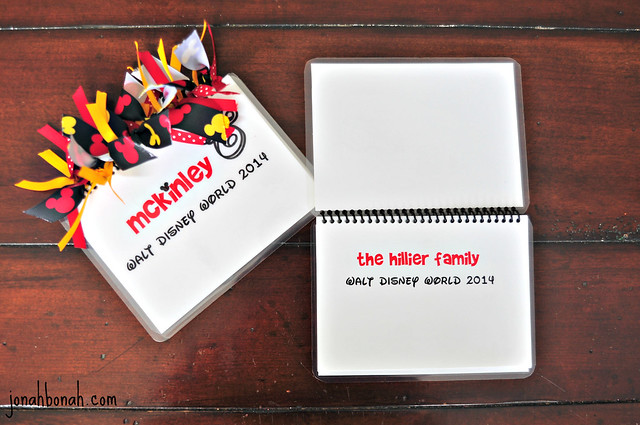
There's a section for each theme park we'll be visiting on this trip. {I also included a couple of pages with the resort name, just in case there's a character sighting there.}

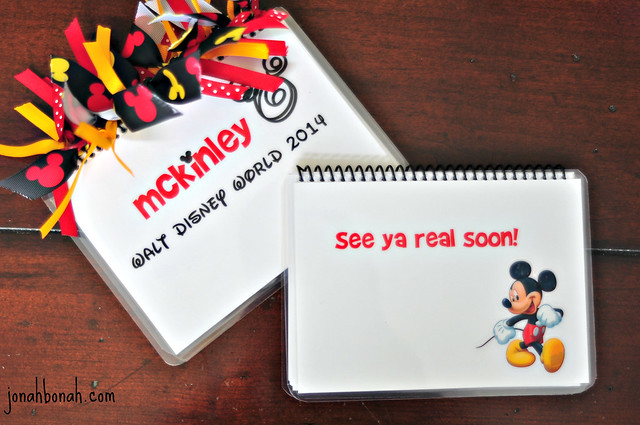
The back cover has Mickey's famous saying, "See ya real soon!"
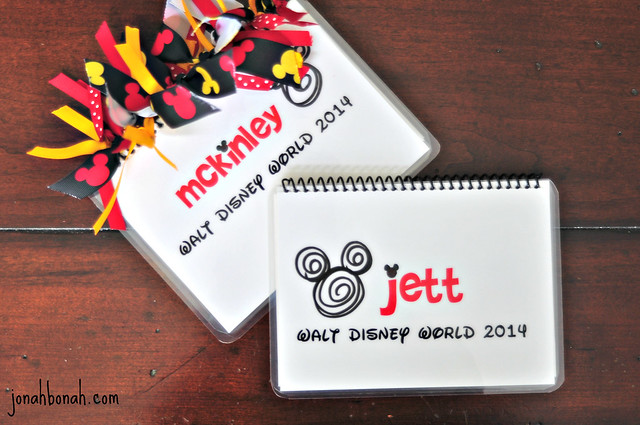
Since McKinley is a girly-girl, I added bunches of ribbon to hers. Just as I suspected, she LOVES it!

These were really simple to make. An added bonus, there's enough extra pages inside that the kids can later add pictures of themselves with the characters that signed their books!
With a little knowledge in Microsoft Word and having a printing shop nearby, you can make these, too!
Here's how:
1. Create your pages in Microsoft Word or similar program. I downloaded Waltograph and Brady Bunch fonts for my words. {The Mickey heads were added later with a black Sharpie pen. The Mickey and Minnie stickers were purchased at Michael's Crafts.}
2. Email your pages to your local print shop to be printed. Be sure to send them as a PDF file. I made the mistake of not doing that the first time and the font was way off.
3. Cut your pages to size. I learned after asking the gal to trim my pages to 5x7 inches that EACH cut is $1.10. Cutting each sheet was going to cost $4.40. For real. So, I made sure to bring my own cutter to the shop and used the great big table they had available and cut my own pages to size.
4. Laminate your front and back cover sheets. {This is something that the print shop will also do. It's like a one-stop-shop!} I think laminating the covers are going to make this keepsake something they can actually keep. :o)
5. Have your book spiral bound. OfficeMax also does binding. Ask if your shop does this.
Total cost of each of my books was under $10. Maybe the same cost as the one you can purchase at the park gift shops...but, way cuter!
This idea was adapted from Dixie Delights.

Oh, to be only HALF as creative as you!!
ReplyDeleteI love this book! I don't foresee a Disney trip in our future but I would love to make a notebook for notes or doodles similar to this!
ReplyDelete