This website is a personal site written and edited by me. This site accepts forms of cash advertising, sponsorship, paid insertions or other forms of compensation.
Showing posts with label tutorial. Show all posts

Thursday, June 7, 2018

How to Make a ChapStick® Holder Key Fob

The ChapStick® product, information and gift have been provided by Pfizer Consumer Healthcare.


Untitled


I'm a mom. I'm a mom to five kids. Five. That's five set of lips [not including my own and my husband's] that often get chapped or cracked or sunburned. With five kids, you can imagine all of the time I have to be searching for a tube of ChapStick® at the bottom of my purse. Not. Ain't nobody got time for that!

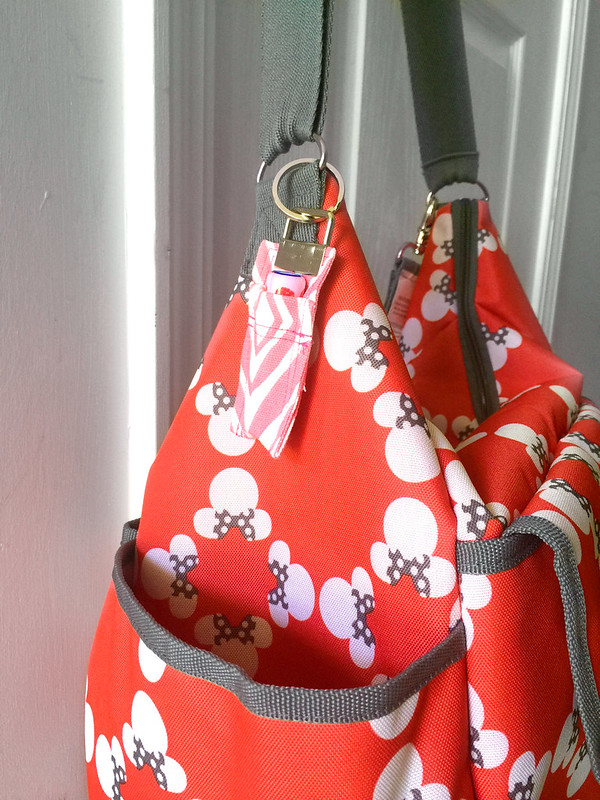
If AWOL ChapStick® is a problem for me, I know it must be a problem for other busy moms. So, I've created a post that will give you step-by-step instructions on how to make a ChapStick® Holder Key Fob. You can attach it to your keys, the diaper bag, your purse, your favorite beach tote, your gym bag...it's so easy to make that you can make one for ALL of those locations, so you NEVER have to search for your ChapStick® again!

Let's get started! 

First, you'll need 
  • either heavy weight fabric [like duck cloth] or cotton fabric lined with fusible interfacing to give it a bit of thickness
  • key fob hardware [found here]
  • scissors
  • thread
  • a pair of pliers 
  • a kitchen towel or a wash cloth
  • sewing machine
Now, let's SEW!

Cut your fabric into 2 1/4 x 15 inches. If you aren't using duck cloth, cut the interfacing the same size and iron to wrong side of cotton fabric.

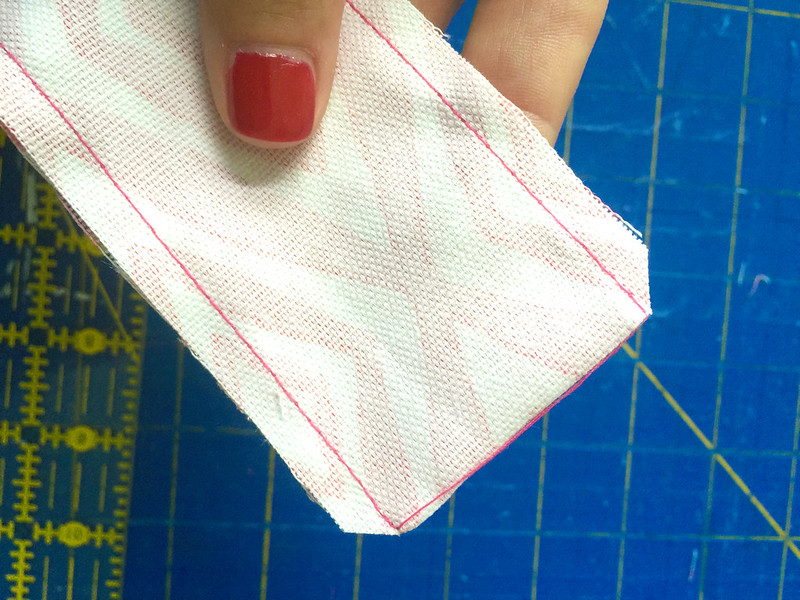
Fold your fabric in half, right sides together. Using a 1/4 inch seam allowance, sew each side of your fabric piece. Do not sew the ends.
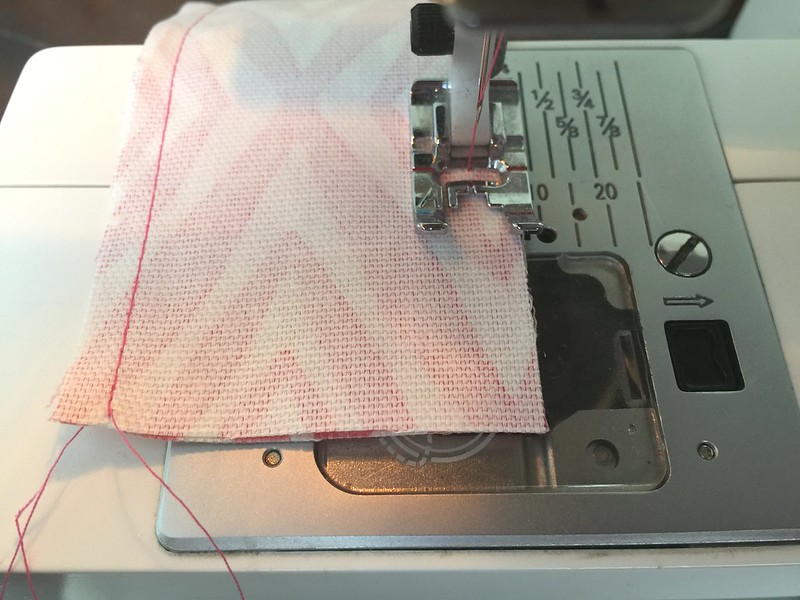
Chapstick holder tutorial

Clip corners.
Untitled

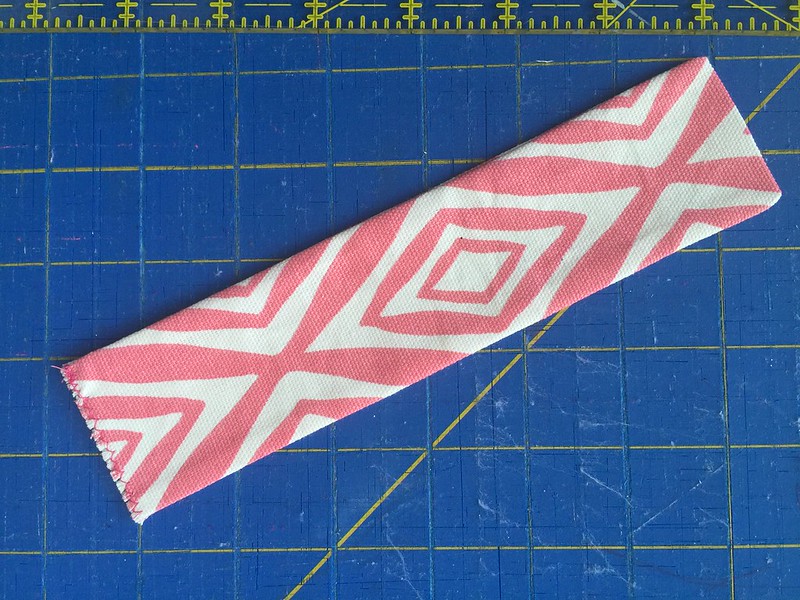
Turn your now 7 1/2 inch piece of fabric right side out, and press seams. 
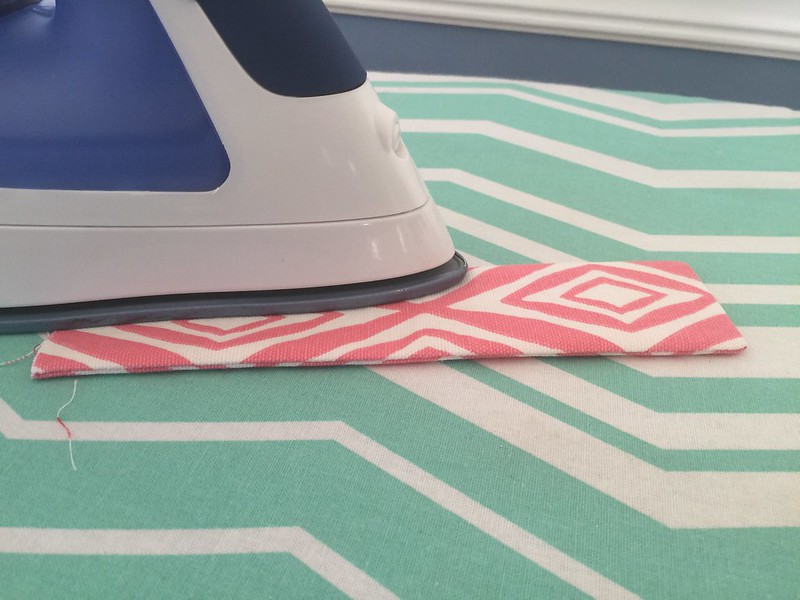
Chapstick holder tutorial

Zig zag stitch the open end closed.
Chapstick holder tutorial

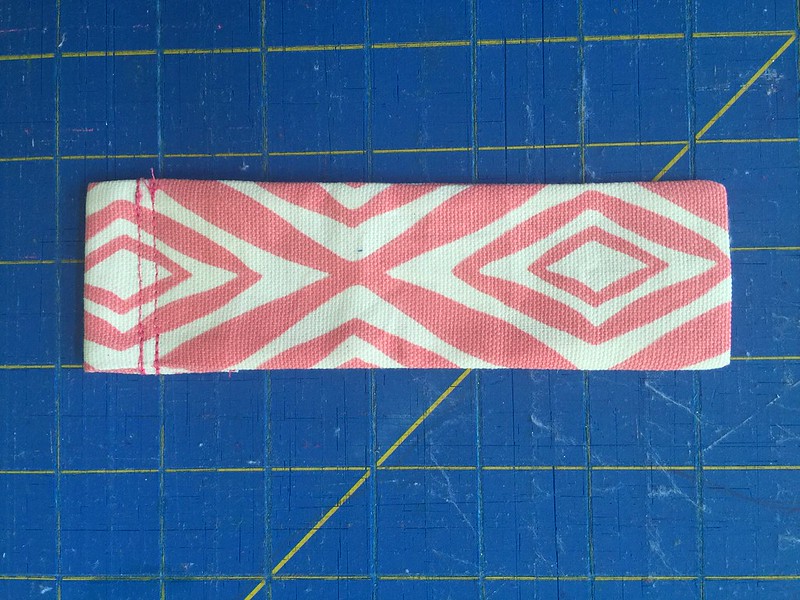
Fold the zig zag stitched end down 1 1/4 inches. Sew first at 5/8 inch allowance and then again at 1/2 inch allowance.
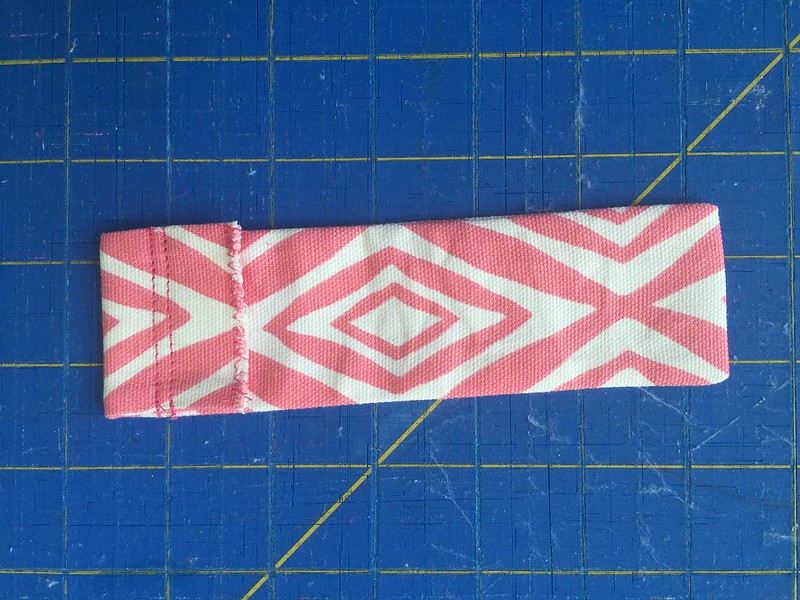
Chapstick holder tutorial

Here's what the back looks like...
Chapstick holder tutorial

We're almost finished, I told you this was easy-peasy!!

Next, fold the end you've just sewn onto itself 2 1/2 inches. [the zig zag shouldn't be seen]
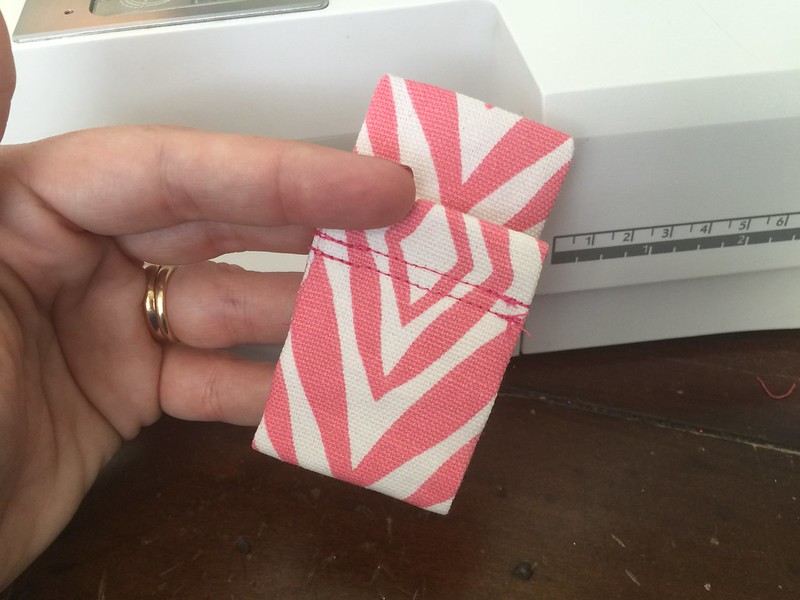
Chapstick holder tutorial

Sew at 1/4 seam allowance and 1/8 inch seam allowance to finish it up. [see photo below]
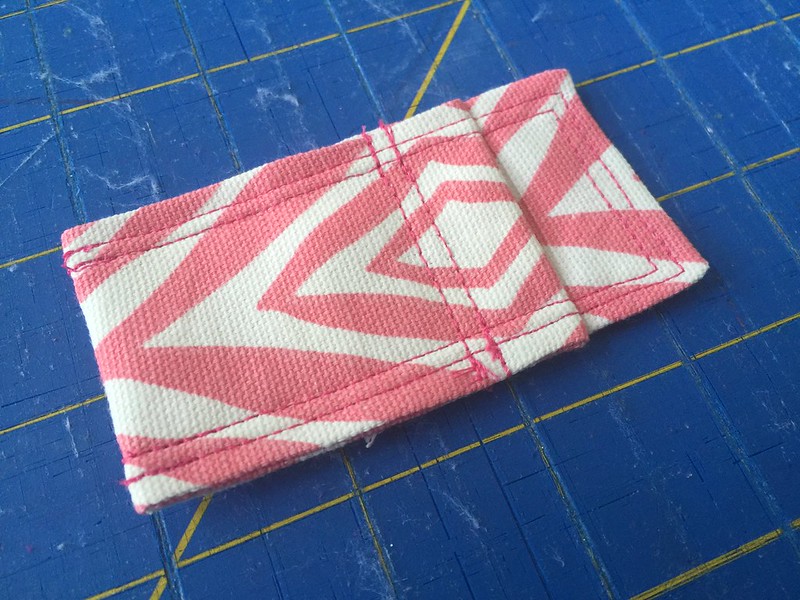
Chapstick holder tutorial

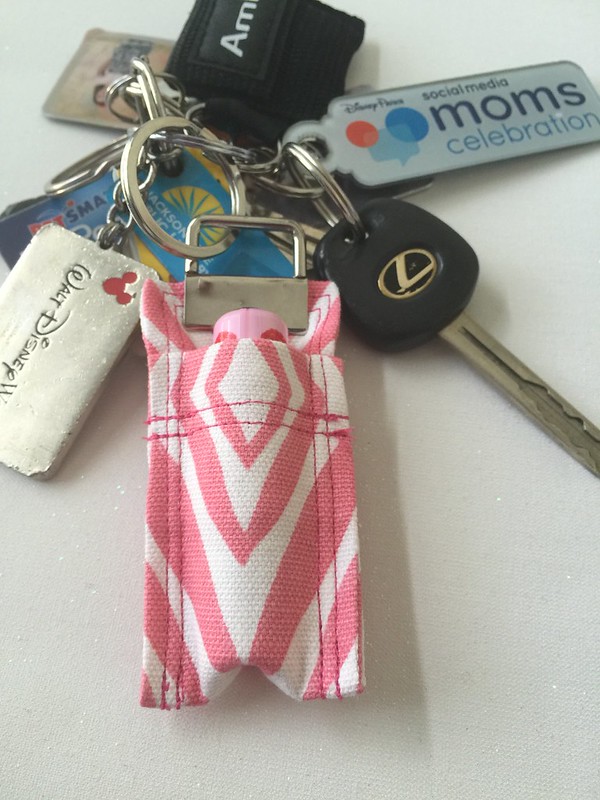
It's time for the key fob hardware. Place the hardware on the end of your new ChapStick® Holder, fold your kitchen towel or wash cloth over it [this helps prevent scratches from the pliers], and press closed with your pliers. 
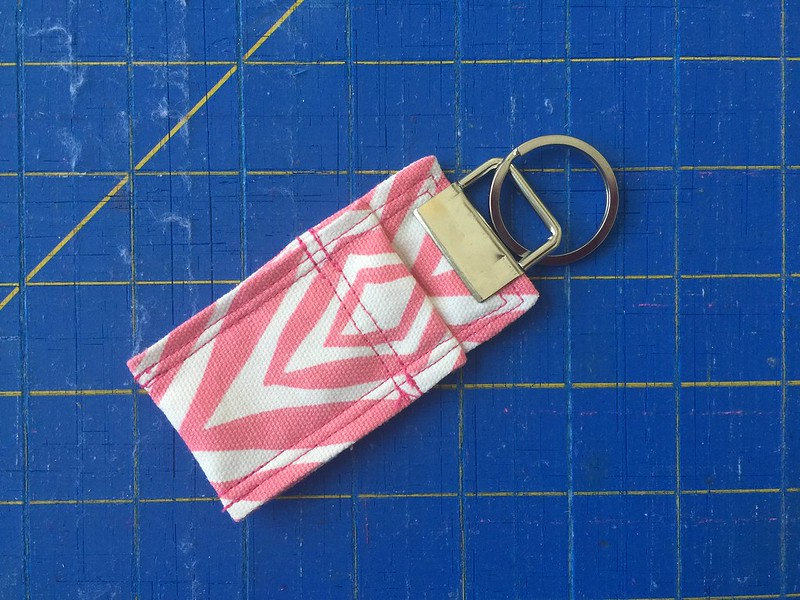
Chapstick holder tutorial

TADA!! You're finished!! Now, make another for your friend, and one for your each of your kids teachers, and for all of your girlfriends...no one should have to search for another tube of ChapStick® ever again! 
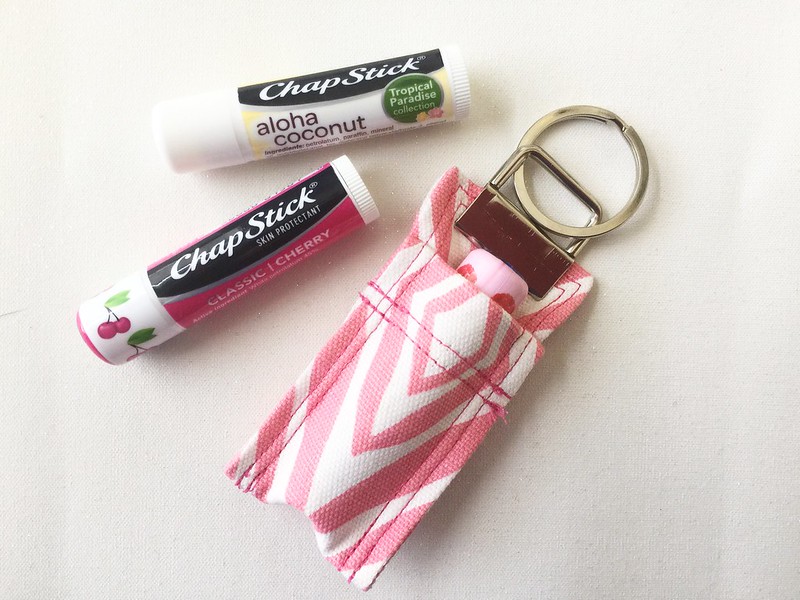
Chapstick holder tutorial

Chapstick holder tutorial

Untitled


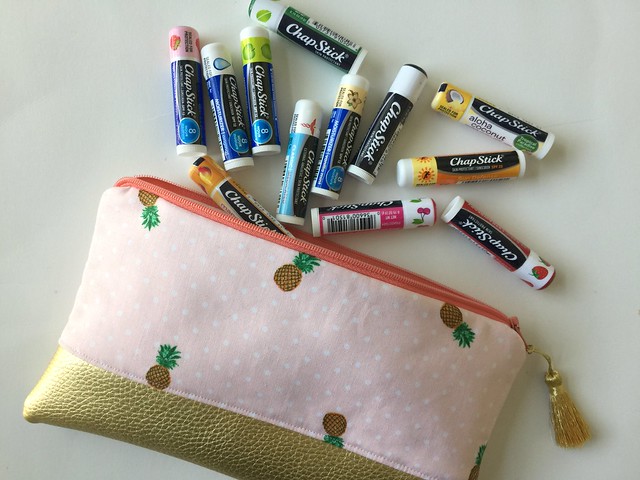
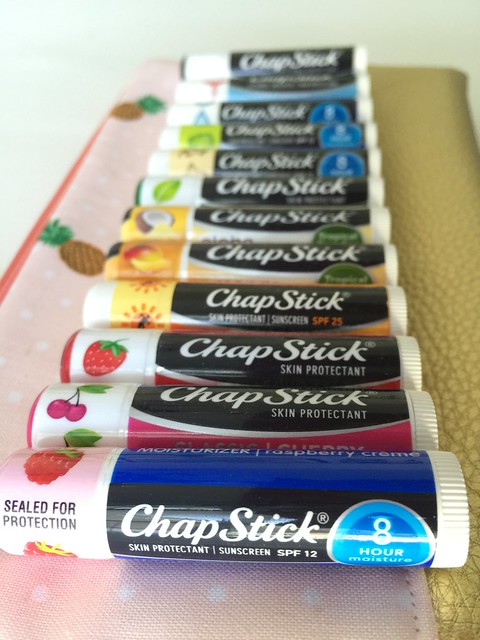
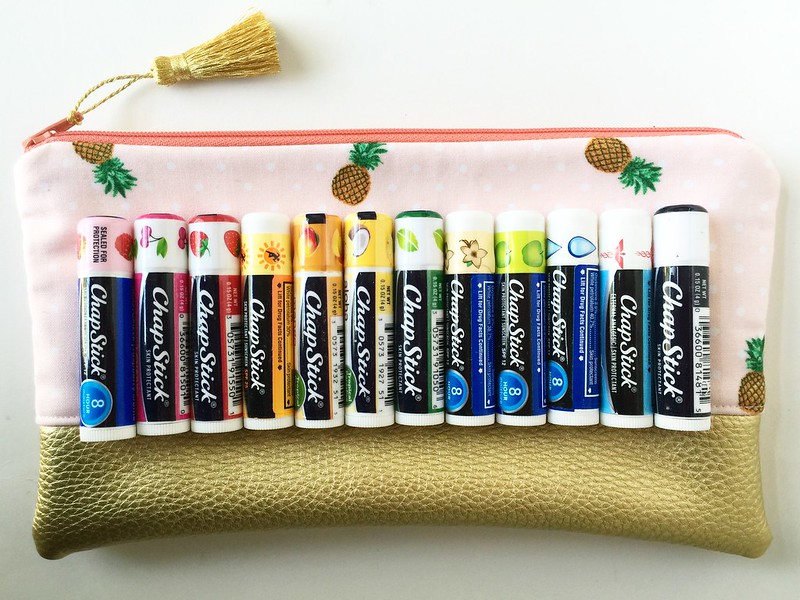
Have you seen all of the amazing varieties of ChapStick® flavors??  Strawberry, Raspberry, Mango, Green Apple, Aloha Coconut [available exclusively at Walmart]...and so, so many more!

**GIVEAWAY CLOSED - CONGRATS, Amber F.** Want to WIN a selection of ChapStick® ? Leave a comment on this post telling me your favorite Summertime memory. I'll choose a winner on March 17. 
Untitled

Untitled

Untitled

Original tutorial found here.


Learn more about ChapStick® by following all of their social media platforms or visiting their YouTube channel.
o   ChapStick® website: http://bit.ly/1NR21t3
o   ChapStick®  Facebook: http://on.fb.me/1Yz11NQ
o   ChapStick® Instagram: http://bit.ly/1V82G8B
o   ChapStick®  Twitter: https://twitter.com/ChapStick
o   ChapStick®  Pinterest: http://bit.ly/1QWt5pc
o   ChapStick®  YouTube: http://bit.ly/1MGCT8i

Tuesday, January 5, 2016

How to Make a Collage Wall with Your Instagram Photos

A few favorite photos from 2015 printed. 💛 The black and white ones wall start a wall project, much like the one seen on @underthesycamore. 💛 Lets get our photos out of digital "lock-up" and into our hands! Hang them. Put them in

Last year I shared with you how to get your favorite Instagram photos out of digital lock-up. I told you that the black and white photos would become a collage above my fireplace. If you follow me on insta, then you've seen a peek of the collage...

Untitled

This is how far it's come. I still have to add September-Decmeber to the wall, but I'm loving it so far! Best part, based on the space that I used in 2015, I will have enough room to add pictures for the next 3-4 years. Holla!!

So, how can YOU start your own collage wall with your Instagram photos?? 
  • First, get your photos printed onto 4x4 photo paper at your local printer. I get mine printed at Walmart. 
  • Find a place in your home that you're willing to devote to all of your favorite photos. 
  • Then, grab your photos and your glue gun, and start gluing your pics to the wall. Yep, glue them!
  • PRO TIP: Take this advice from a gal who has glued photos to the wall and taken them down, once or twice, because of crookedness or from them not being centered. Get a level or a ruler and use that to help put the pictures straight on the wall. 


What is your secret to getting your digital photos off of the computer and into your hands?? Tell me in the comments, or leave me a comment on Instagram. 


Thursday, December 4, 2014

Christmas Craft Ideas from ME and @BlissfullyD!

Over the next couple of weeks I'll have quite a few Christmas craft posts popping up over at Blissfully Domestic. If you aren't already signed up for our newsletter, go here now. You won't miss a single craft idea, recipe or fashion tip with that weekly update. If newsletters aren't your thing, check back daily. We are working hard to bring you fresh new articles and ideas every day!

Without further ado, I present you with my newest Blissfully Domestic content {click link below photo to be redirected}:

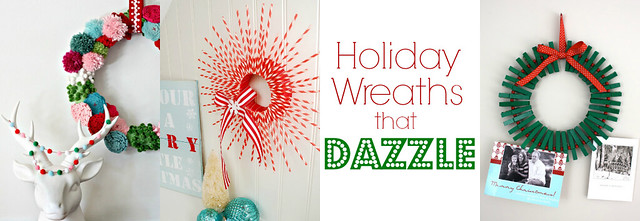
holiday wreaths that dazzle slider

christmas ornaments you can make with your kids slider
Christmas Ornaments You Can Make with Your Kids

PicMonkey Collage
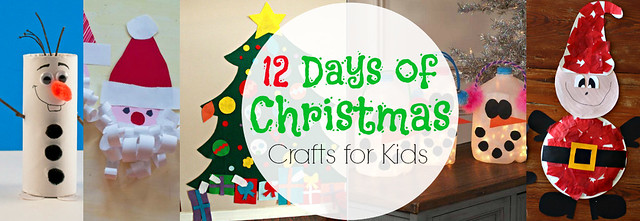
12 Days Christmas Crafts for Kids

Which craft is your favorite? The felt Christmas tree and Olaf footprint are my favorites! These are must-do crafts this year! If you make any of the above ideas PLEASE tag me, @jonahbonah, on Instagram so I can see your fabulous creations! Remember, check back often for more fun ideas! 

Wednesday, June 26, 2013

Blissfully Domestic Happenings {June}

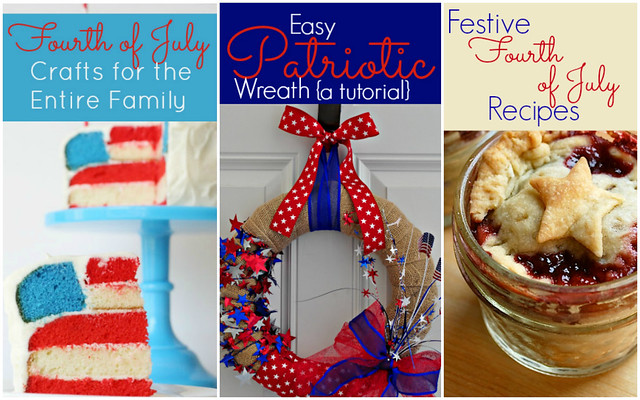
You won't want to miss these June posts I wrote for Blissfully Domestic.  You'll find a plethora of information for summer grilling and Fourth of July party prepping.  And a few other fun tidbits of info too!

BD June Posts


BD June Posts 2

Hubs made it clear today that should we have a party for the Fourth of July I better not be serving our guests with Dixie cups and paper plates.  {practice what you preach kind of thinking, ya know?}  :o)  To him I say, grill me that Portabella Mushroom goodness I share in the Summer Grilling post!